Unraveling the Mystery of Ceiling Water Damage: A Comprehensive Guide to Repairing Drywall
Mastering the Art of Repair: Navigating Ceiling Water Damage with DallasDrywallSolutions.com
Ceiling water damage can strike unexpectedly, turning your once pristine ceiling into a source of stress and concern. Whether it's caused by a leaky roof, burst pipes, or other water-related mishaps, the aftermath often involves unsightly stains, compromised structural integrity, and potential hazards like mold growth. Fear not, as this comprehensive guide, brought to you by DallasDrywallSolutions.com, will empower you with the knowledge to effectively address and repair drywall ceiling water damage.

Assessing the Damage
The first step in combating ceiling water damage is a thorough assessment. Identify the extent of the damage, examining not only the visible stains but also the hidden issues such as compromised insulation and structural damage. Understanding the full scope will guide your approach to repairs.
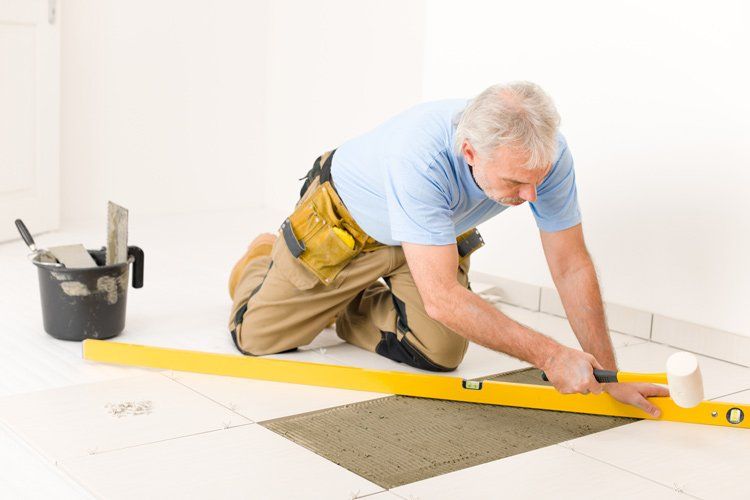
Ceiling Water Damage Repair
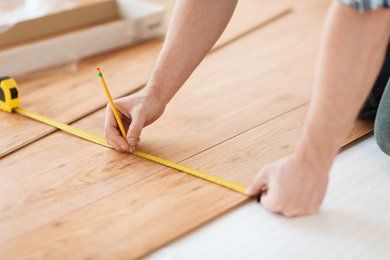
1. Gathering Materials
Before diving into repairs, ensure you have the necessary materials:
- Ceiling water damage
- Repair drywall ceiling water damage
- Cost to repair drywall ceiling water damage
- Repair popcorn ceiling water damage
- Repair textured ceiling water damage
- Patch drywall ceiling water damage
- Putty knife
- Drywall patch
- Joint compound
- Sandpaper
- Primer and paint (to match your ceiling)
- Protective gear (gloves, goggles, mask)
2. Safety First
Before you begin any repair work, prioritize safety. Turn off electricity to the affected area to prevent any electrical hazards. Additionally, wear protective gear to shield yourself from potential contaminants.
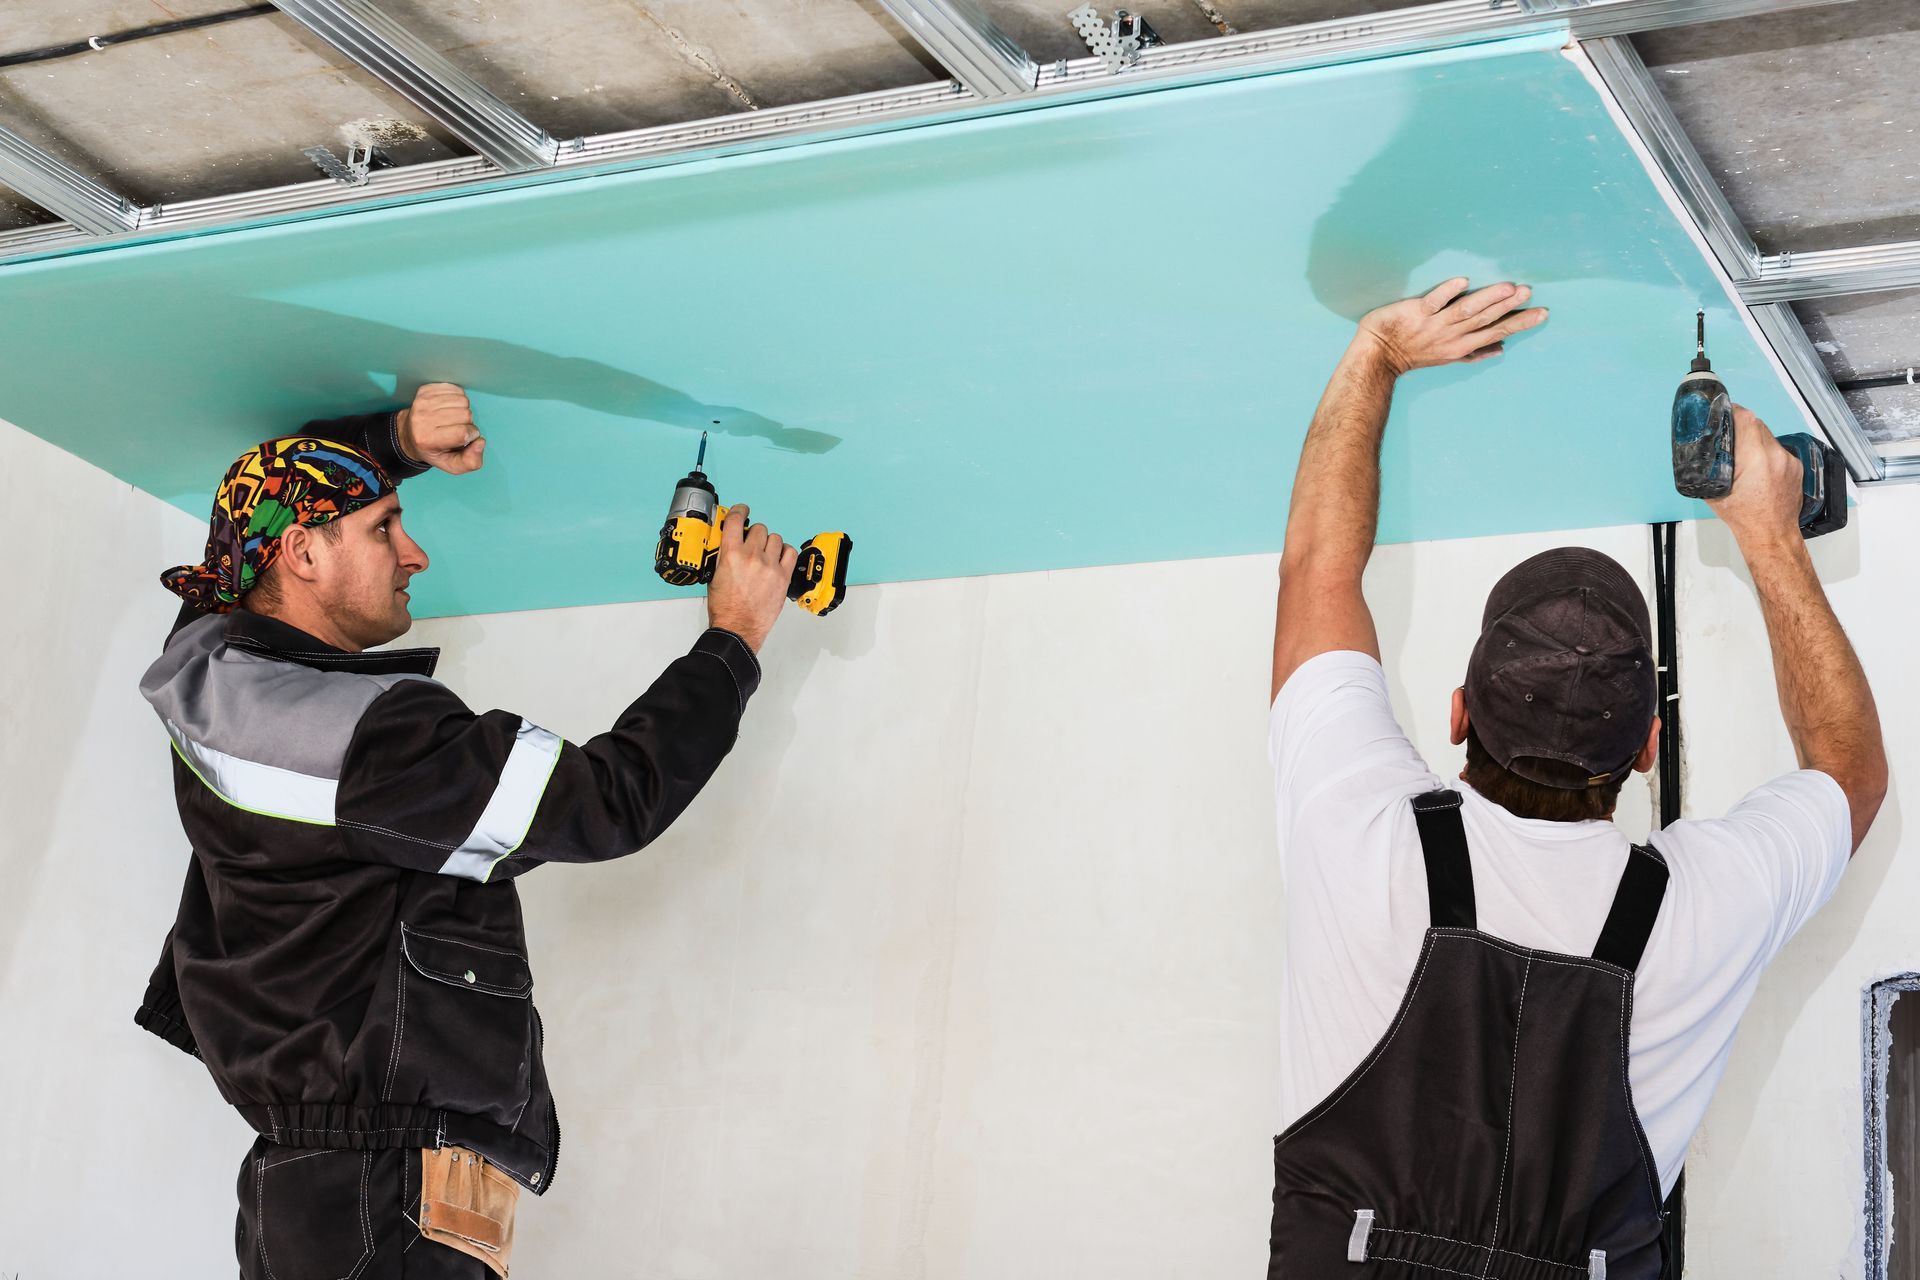
3. Addressing Popcorn and Textured Ceilings
For popcorn or textured ceilings, the repair process involves careful removal and replacement. Start by scraping off the damaged texture, apply a new texture or opt for a smooth finish, and finish with painting to match the existing ceiling.
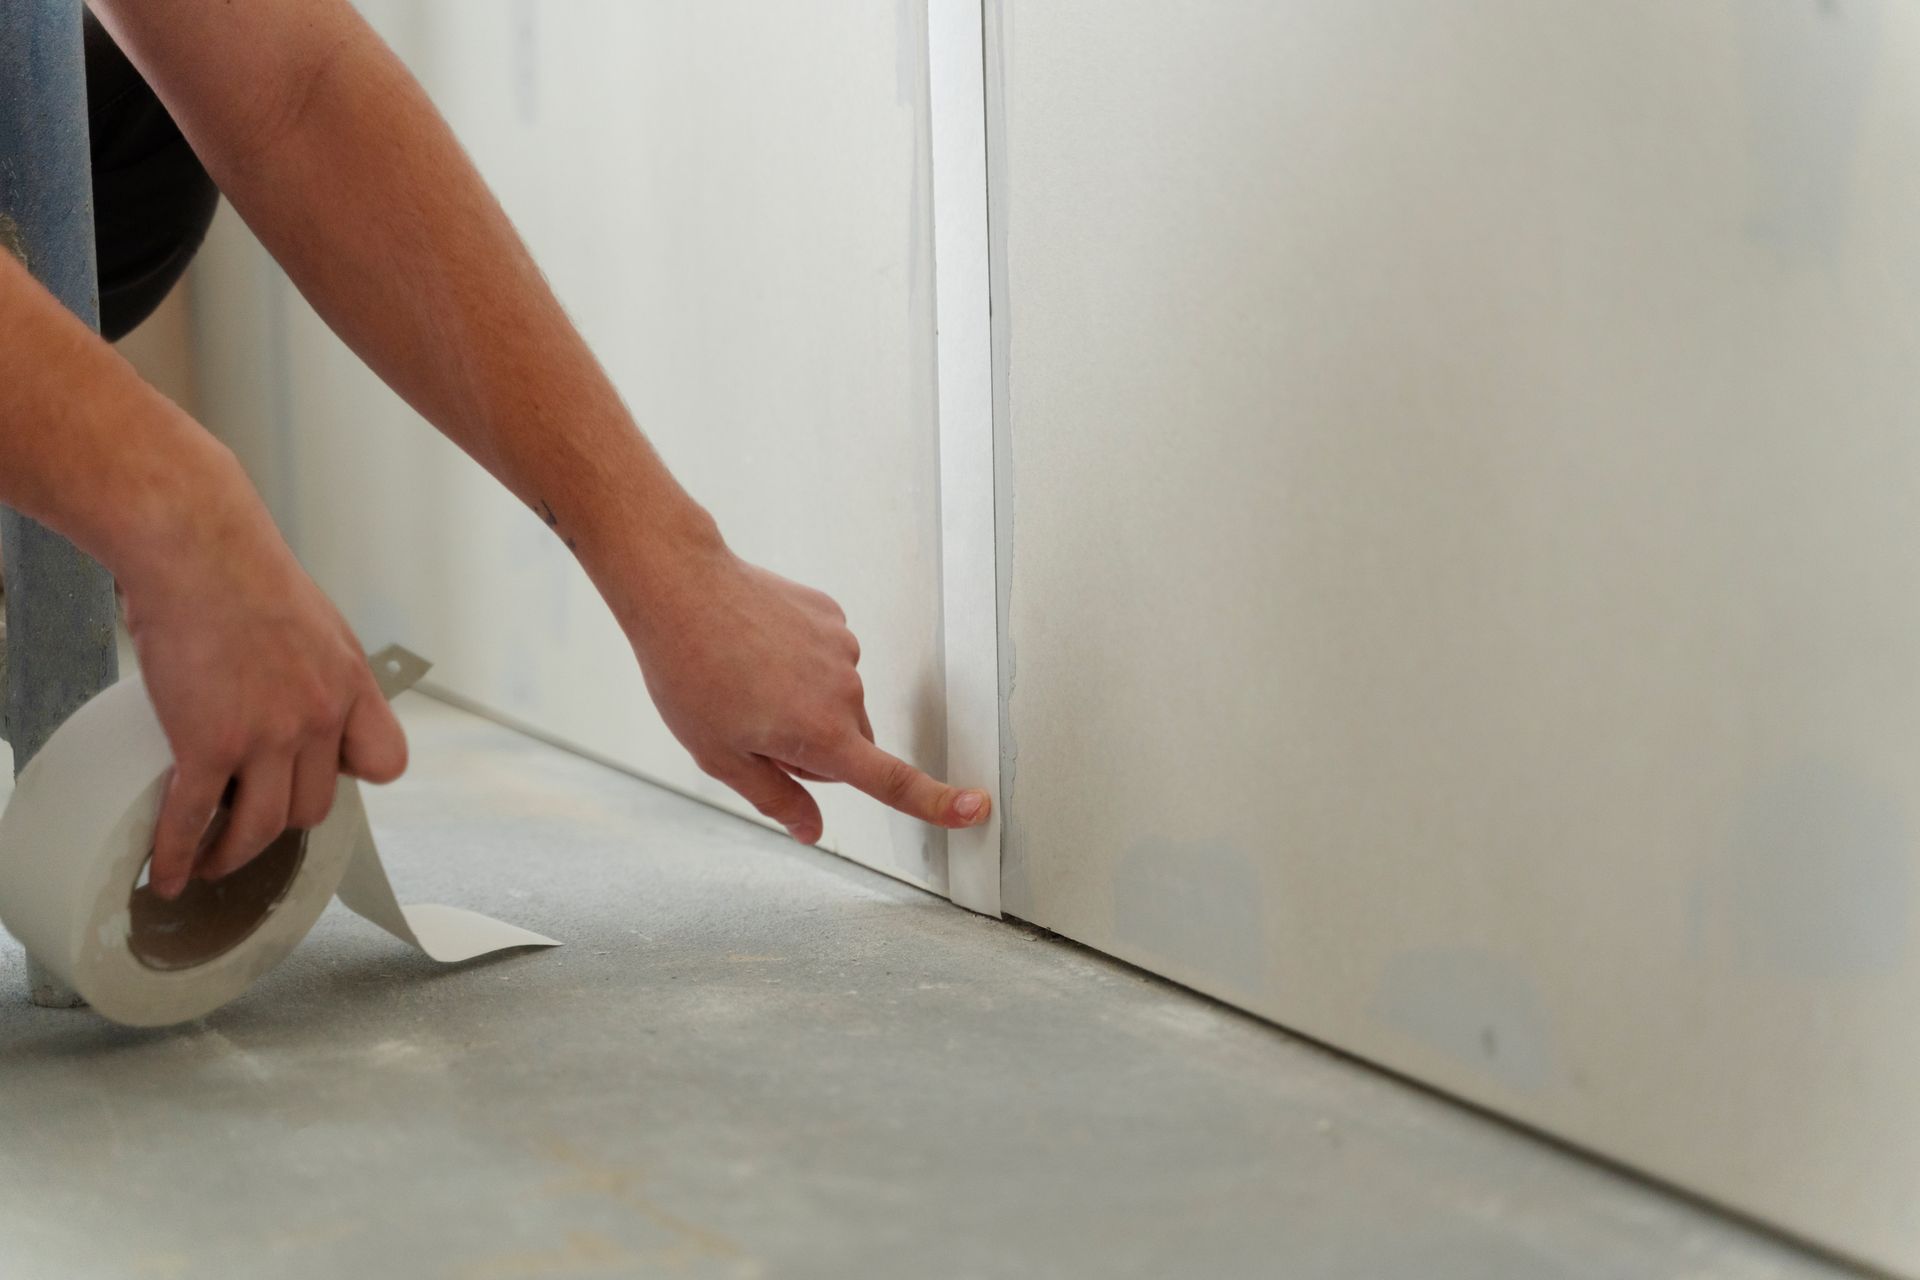
4. Patching Drywall Ceiling Water Damage
Using a putty knife, carefully apply a drywall patch over the damaged area. Ensure the patch fits snugly and smoothly onto the ceiling. Apply joint compound over the patch, feathering the edges for a seamless blend.
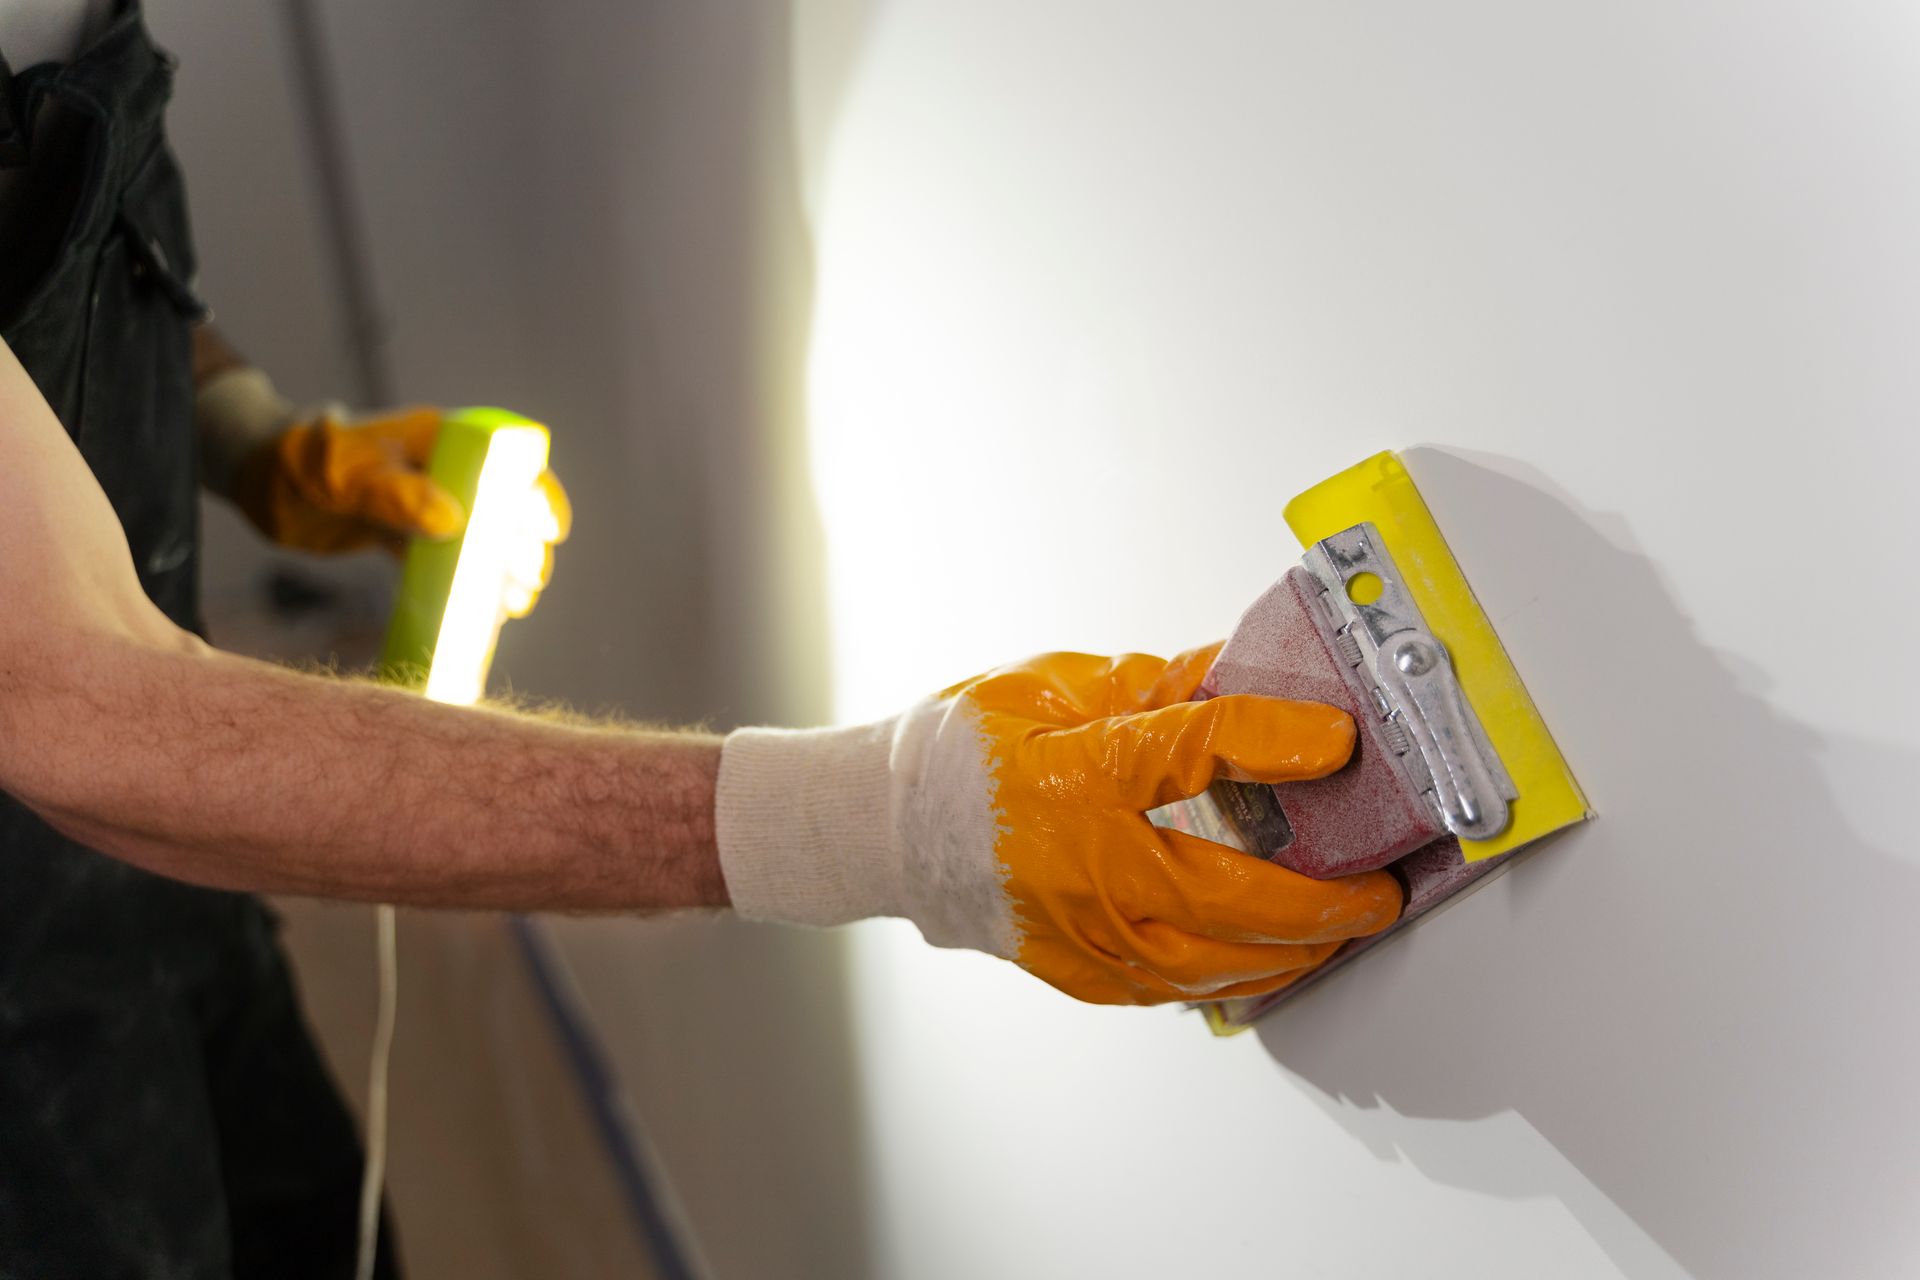
5. Sanding and Smoothing
Once the joint compound dries, sand the repaired area until it's smooth and even with the rest of the ceiling. This step is crucial for achieving a professional finish.
6. Priming and Painting
To complete the repair, prime the patched area to ensure proper paint adhesion. Follow up with matching paint to seamlessly blend the repaired section with the rest of the ceiling.
7. Upgrade Your Lighting
As you repair your ceiling, consider installing new lighting fixtures or even skylights to brighten up the space and make it more inviting.
8. Add a Fresh Coat of Paint
In addition to repairing the damaged area, give your entire ceiling a fresh coat of paint. This can revitalize the entire room and make it look brand new.
9. Explore Crown Molding
Crown molding adds an elegant touch to any room. It can be installed along the edges of your ceiling to create a sophisticated look.
10. Install Ceiling Fans
Ceiling fans are not only functional but also stylish. They can help improve air circulation and add a decorative element to your space.
By combining these enhancements with your ceiling water damage repairs, you can transform your space into something even more beautiful and functional than before.
Cost to Repair Drywall Ceiling Water Damage
Understanding the cost to repair drywall ceiling water damage is crucial for budgeting and planning. Costs may vary based on factors such as the extent of the damage, materials needed, and whether professional assistance is required. While DIY repairs can be cost-effective, complex damage may necessitate the expertise of professionals from DallasDrywallSolutions.com.
Prevention Strategies
The best way to deal with ceiling water damage is to prevent it in the first place. Consider the following strategies:
Regularly inspect your roof for leaks.- Maintain and clean gutters to prevent water buildup.
- Address plumbing issues promptly.
- Ensure proper ventilation in areas prone to humidity.
When to Seek Professional Help
While minor ceiling water damage can often be tackled as a DIY project, certain situations call for professional assistance:
- Extensive structural damage
- Mold infestations
- Electrical issues
- Uncertain source of water damage
DallasDrywallSolutions.com stands ready to assist in these situations, bringing expertise and a commitment to quality repairs.
Conclusion
Ceiling water damage may seem like a daunting challenge, but armed with the right knowledge and resources, you can address the issue effectively. This guide, presented by DallasDrywallSolutions.com, equips you with the skills to repair drywall ceiling water damage, understand associated costs, implement preventive measures, and navigate the complexities of ceiling water damage. Remember, a well-maintained ceiling not only enhances the aesthetic appeal of your home but also safeguards it from potential hazards, ensuring peace of mind for you and your family.
Additional Resources
For more in-depth guidance, tips, and professional assistance, visit DallasDrywallSolutions.com. Our team of experts is dedicated to helping you preserve the beauty and integrity of your home's ceilings.
Ready to work with Dallas Drywall Solutions?
Let's connect! We’re here to help.
Send us a message and we’ll be in touch.
Or give us a call today at 972-362-9799
Agency Contact Form
More Marketing Tips, Tricks & Tools